Ideas for functional and effective planner organization.

I’ve spent literal years tweaking and refining my planner organization and system to help me stay productive and accomplish my goals. So I thought I’d share some ideas that might help you find your perfect planner setup.
Right now I’m doing a hybrid of paper planning combined with digital planning. This week I’ll show you how I set up my A5 size paper planner, and then next week, I’ll show you how I set up digital planning on my iPad.
Functional Planning System
Planner Size
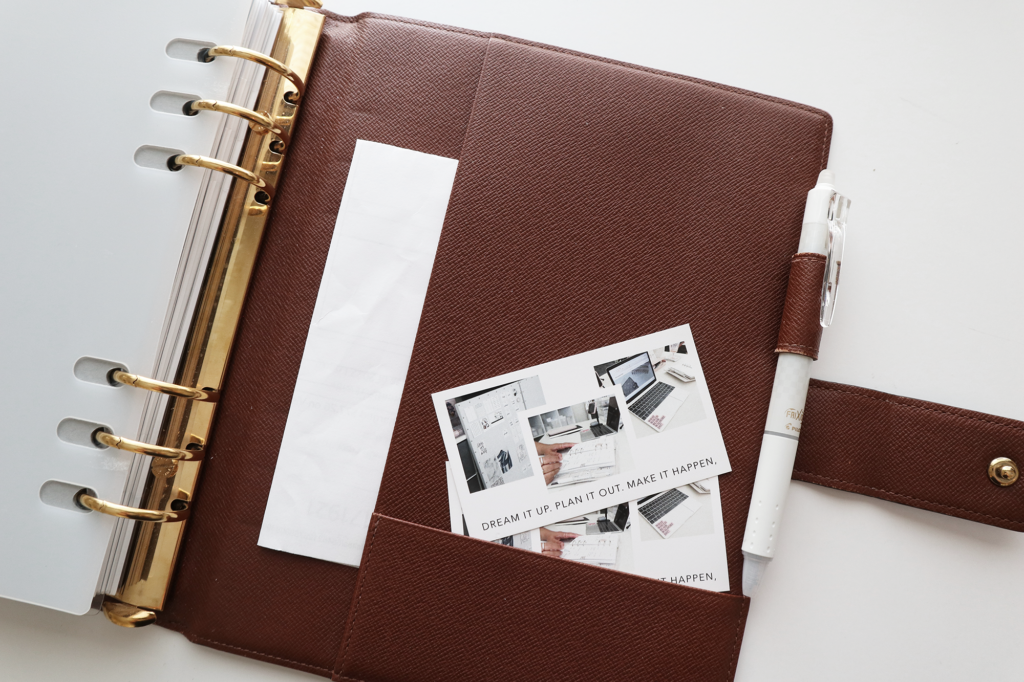
I’ve tried many different sizes of planners, and for the longest time I was a loyal Personal size planner girl. But earlier this year I decided to try A5 size, and now I don’t know if I’ll ever go back. I’m in the Louis Vuitton large ring agenda, and I just love all the space of an A5.

Planner Pockets
I keep my front pockets pretty simple. I have a planner card from our August Stationery Sub in the little front pocket along with my most used sticky notes.
In the front secretarial pocket, I keep my most used stickers: transparent dots, some removable labels that I use as sticky notes, some headers, some icons, and some plain white labels that I use as correction tape.
And then in the back secretarial pocket, I have just a few pages of our grid notepad.
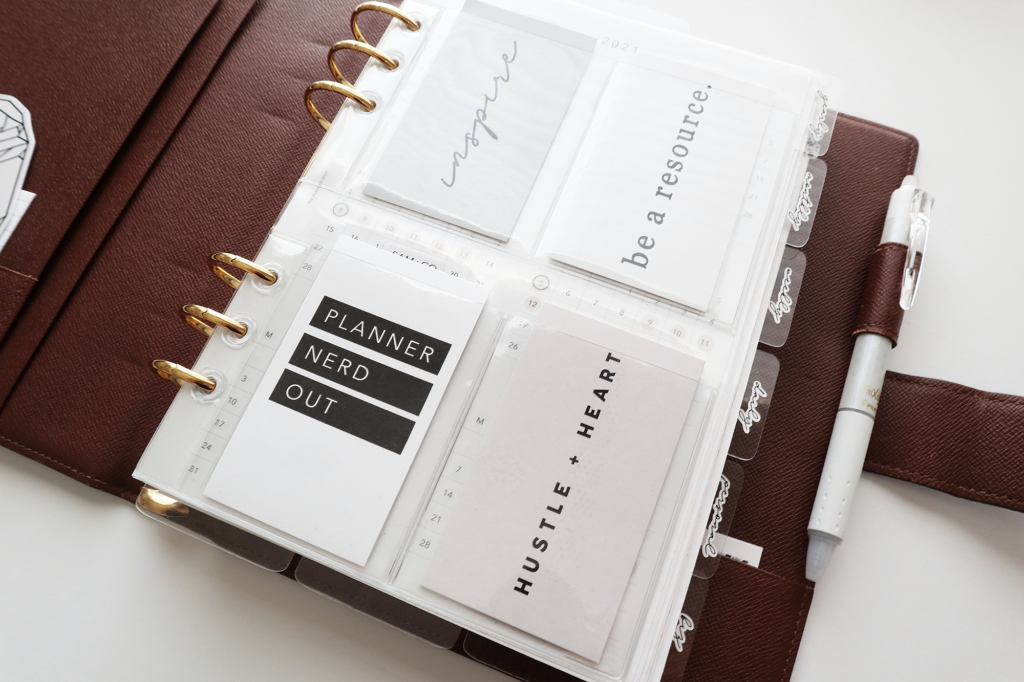

Planner Dashboard
I use a clear pocket page from Catspresso for my inspiration dashboard. On the front, are some cards I printed up as little reminders of my purpose and intent for The Planner Spot.
On the back of the pocket page, I keep my task cards. These are recurring tasks I do week to week. I’ll share more on those in a future blog post.
The cards themselves are also from Catspresso, and I printed the labels on removable sticker paper.
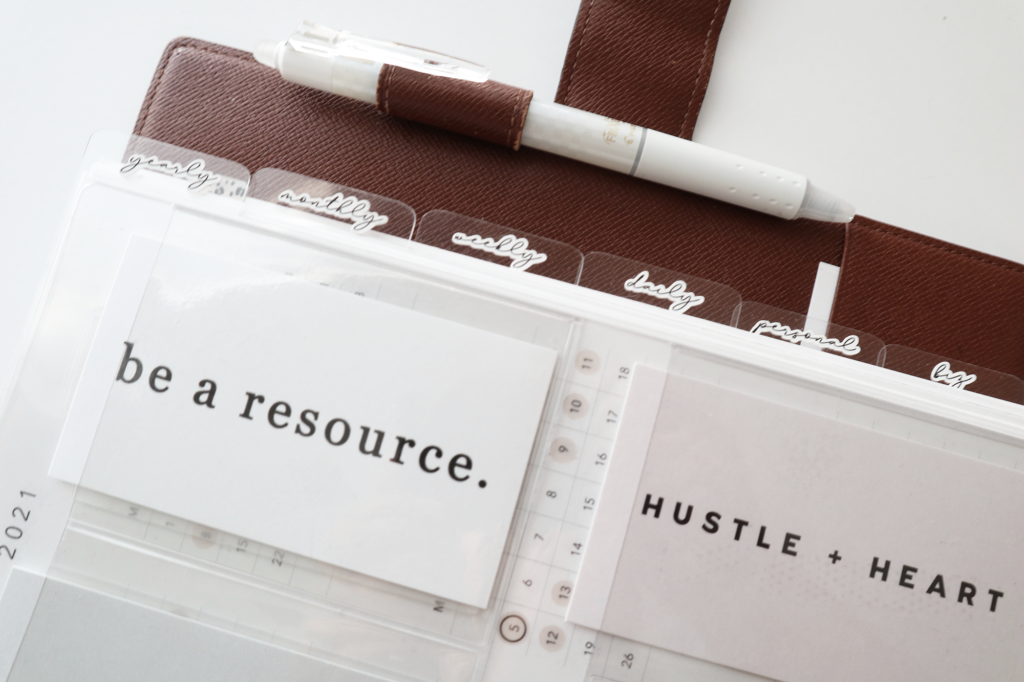
Planner Sections
I have six sections in my planner: yearly, monthly, weekly, daily, personal, and business.
I also have three bottom dividers that mark my pages for the current month, the current week, and the current day.
And there is one more divider at the top which I use as a page marker for my planning routines.
All my dividers are from Brooklyn Grace Co.
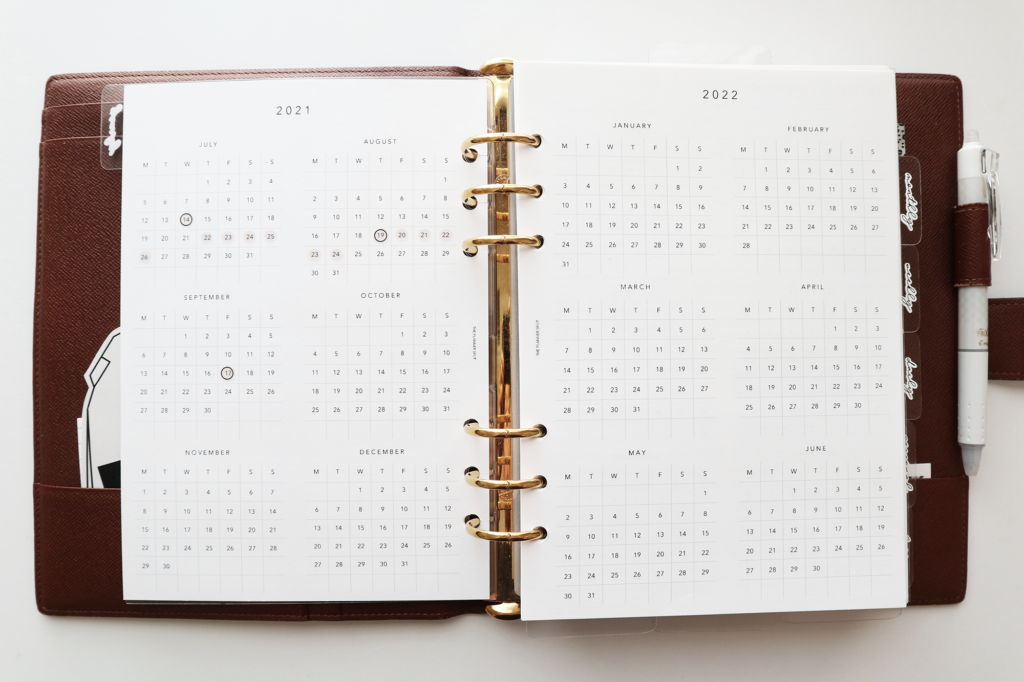

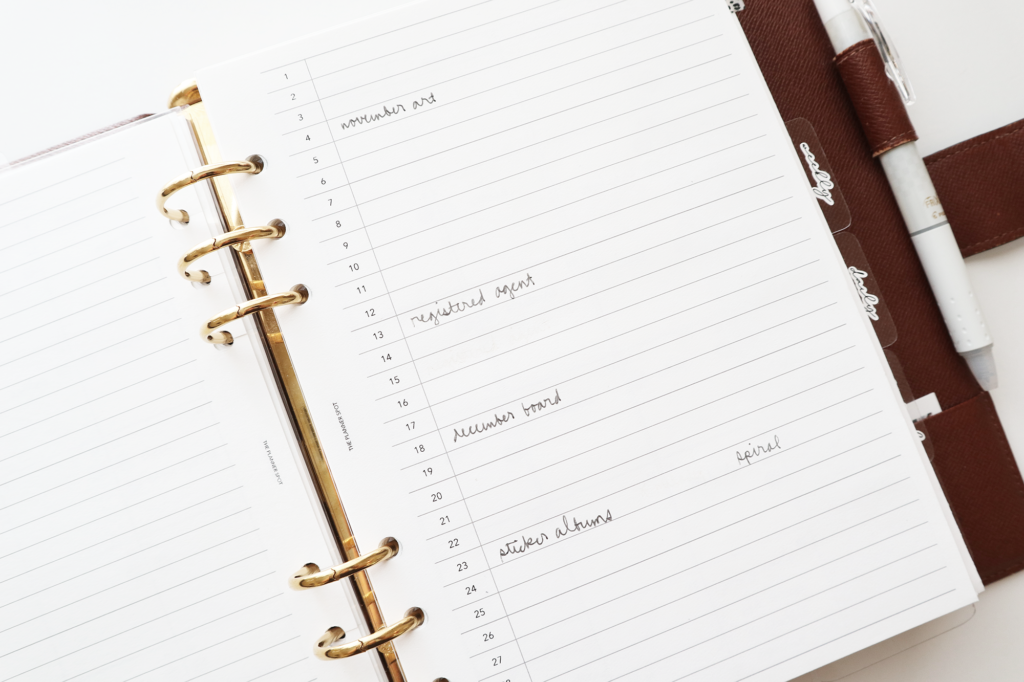
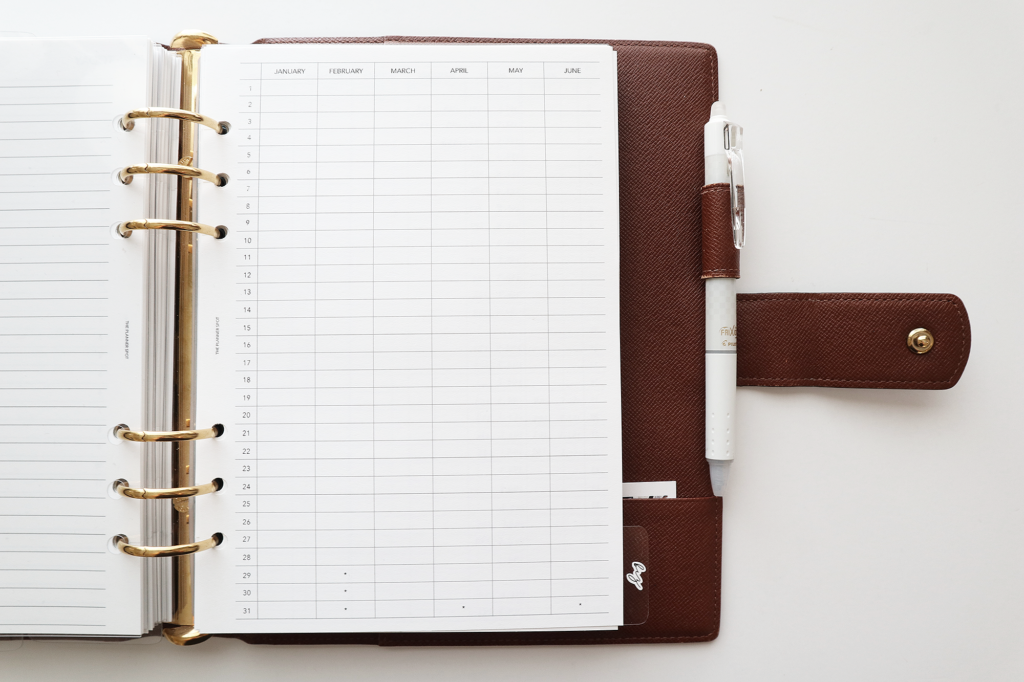
Yearly Planning
In my yearly section, I have my year overview calendars for reference, which I also use for tracking my periods.
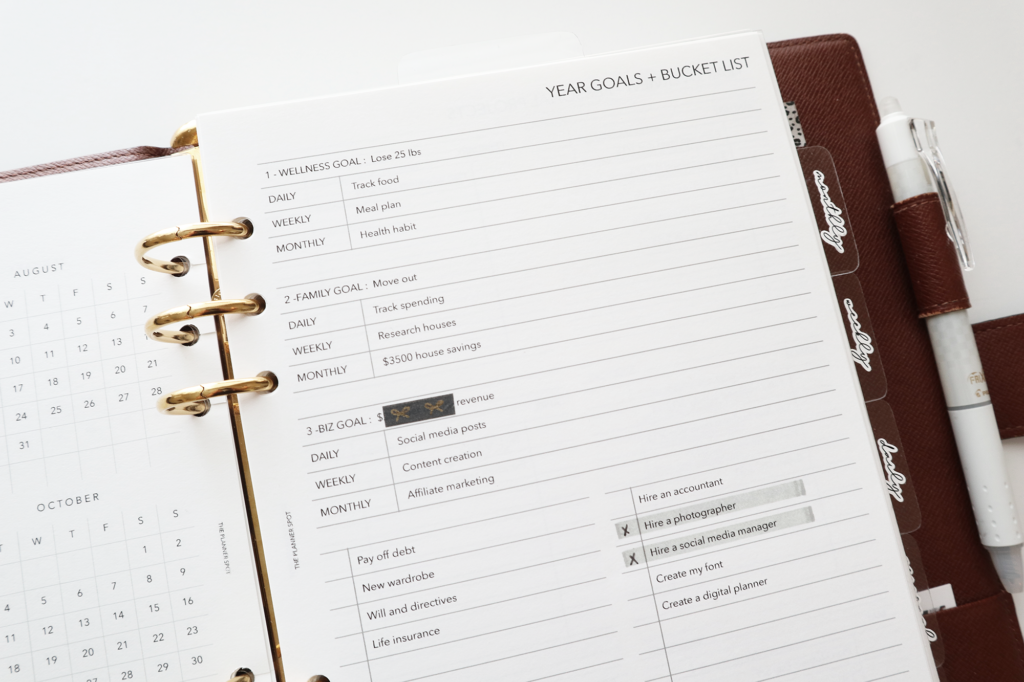
Next are my goals inserts. I have my yearly goals, a year overview for personal projects and a year overview for business projects. Then I have my monthly, weekly and daily goals and planning routines.
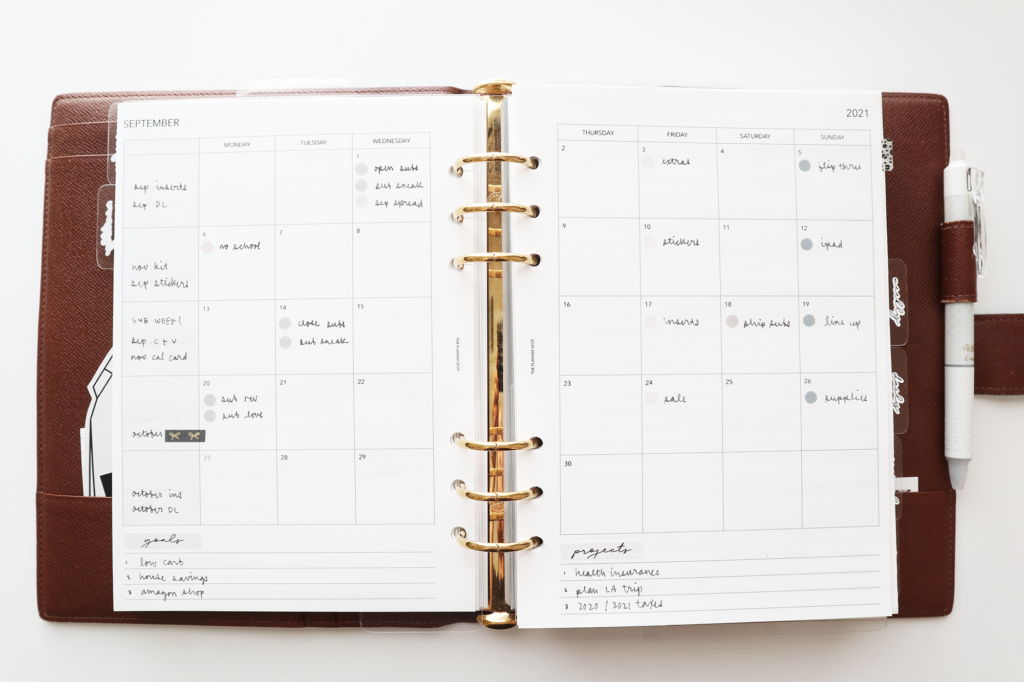
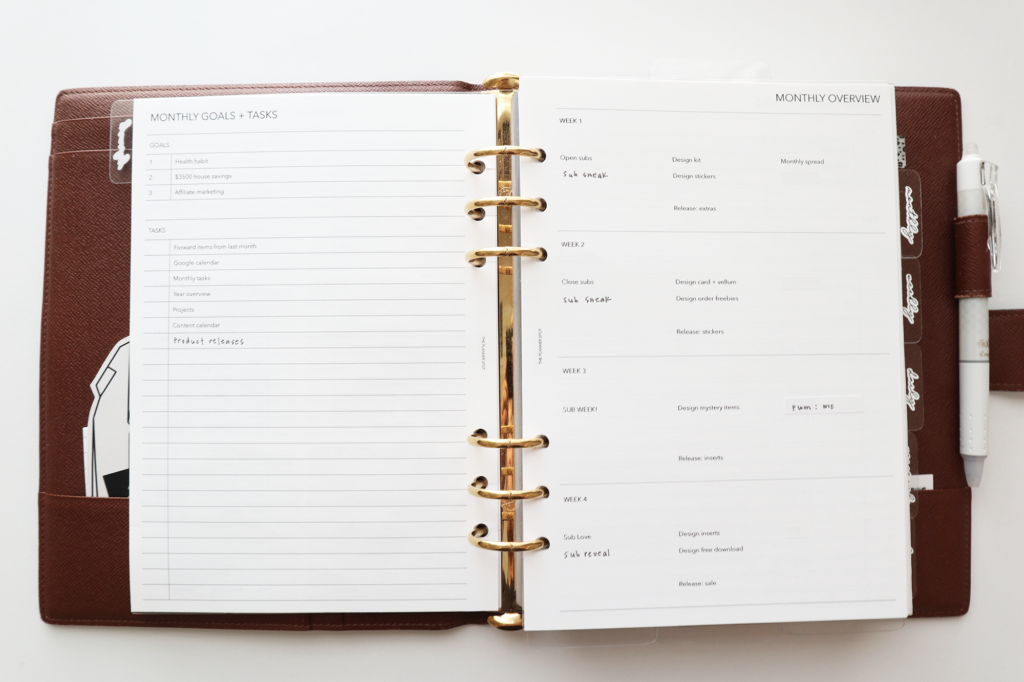
Monthly Planning
I keep the whole year of monthly inserts in my planner. This is a four pages per month spread that I use for mapping out my projects for the month.
Color coding dots help easily differentiate personal events, shop calendar and content planning.
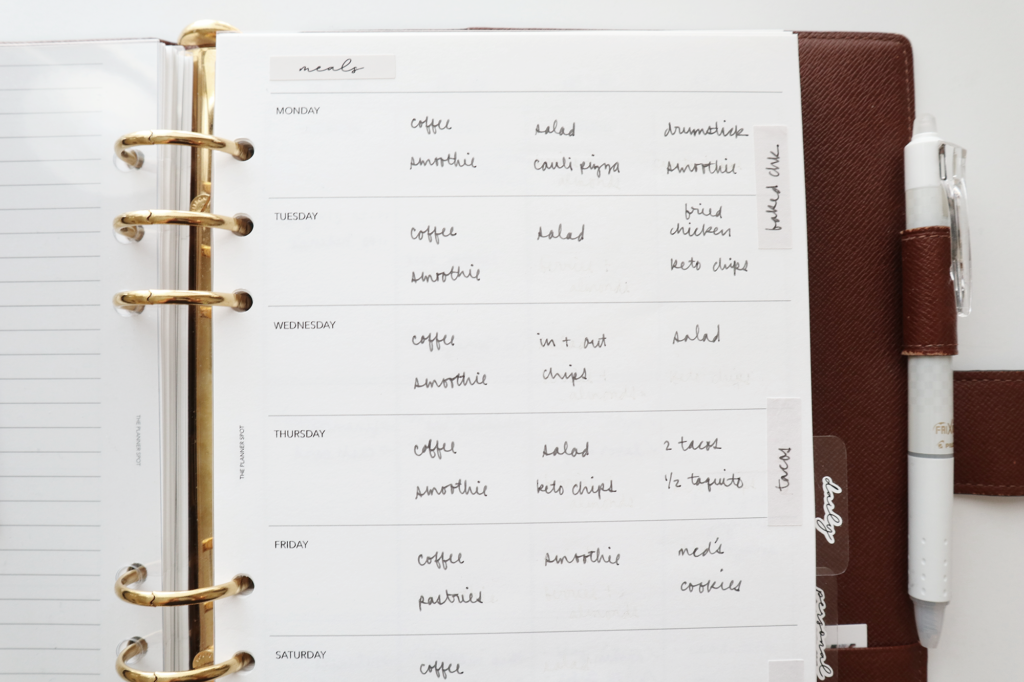
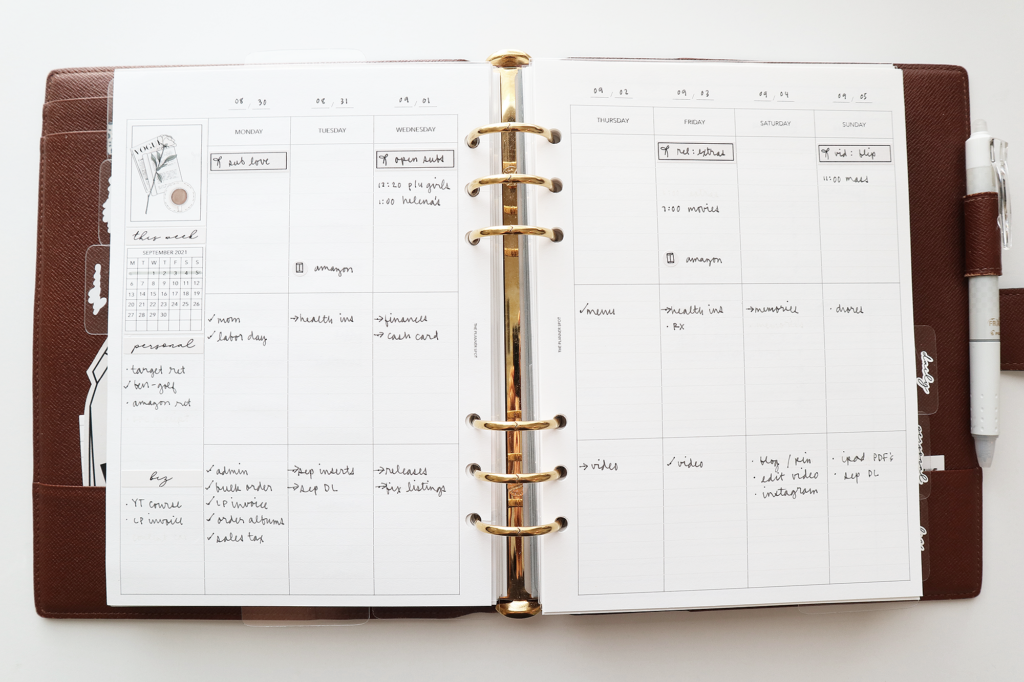
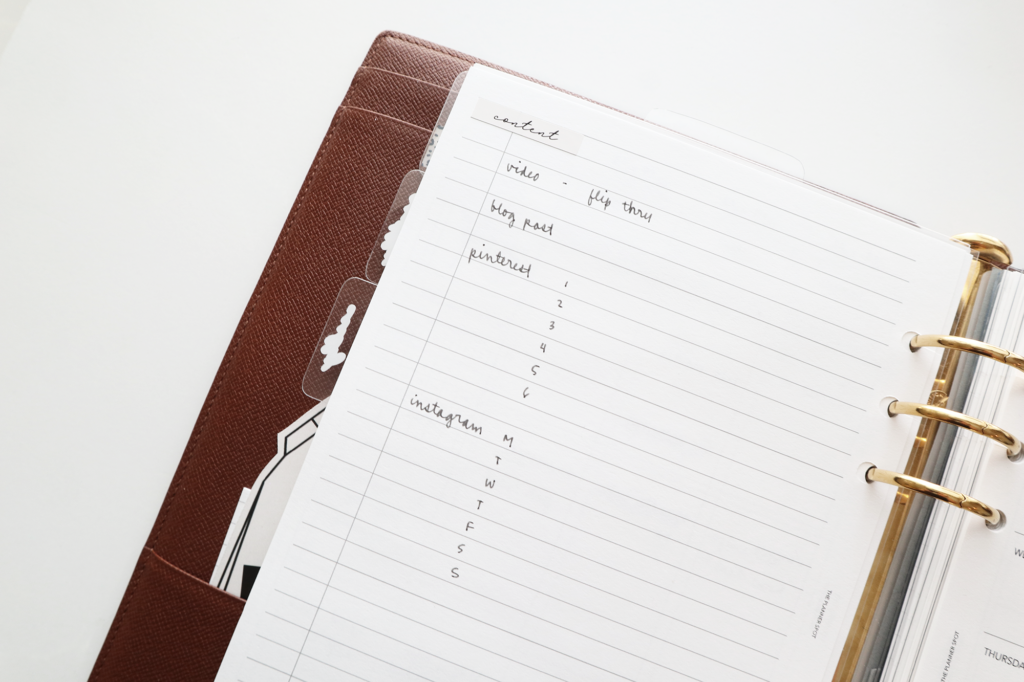
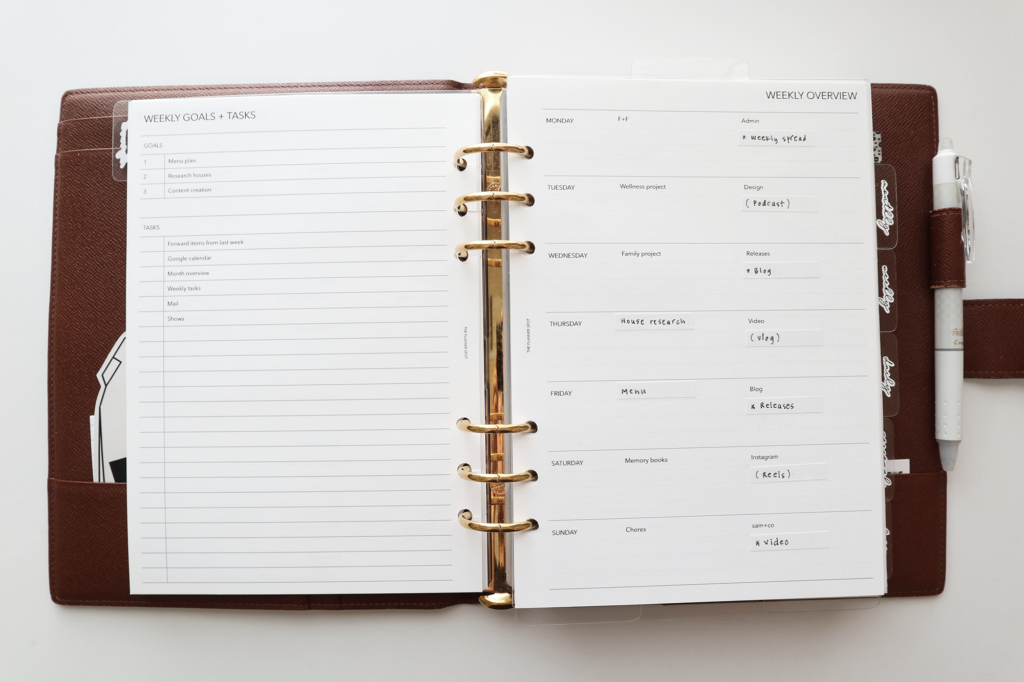
Weekly Planning
The next section is my weekly section. I keep a whole month of weekly inserts in my planner. This is also a four page layout. On the first page I do some meal planning, I note my schedule and tasks on the main weekly spread, and on the back I do some content planning.

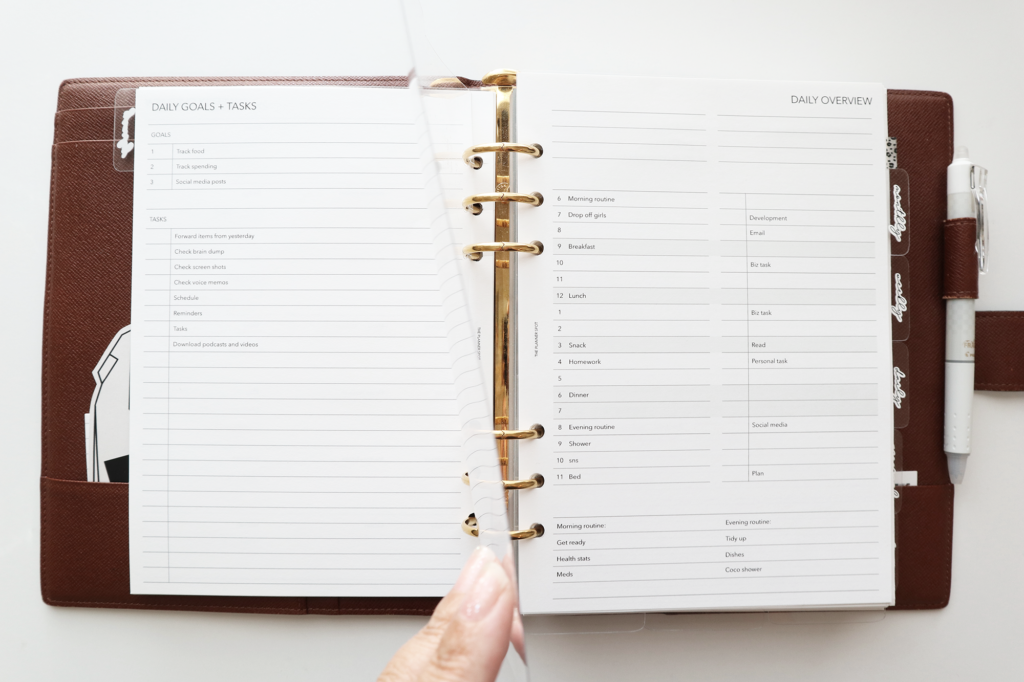
Daily Planning
My next section is my daily section. On the left, I have a daily dashboard where I like to keep a calendar card for reference, some tracking, and a spot for my task cards.
On the right is my daily insert. Here is where I layout my daily schedule and tasks. The back page is just a place for misc notes.
Just like my weeklies, I keep a whole month’s worth of daily inserts in my planner.
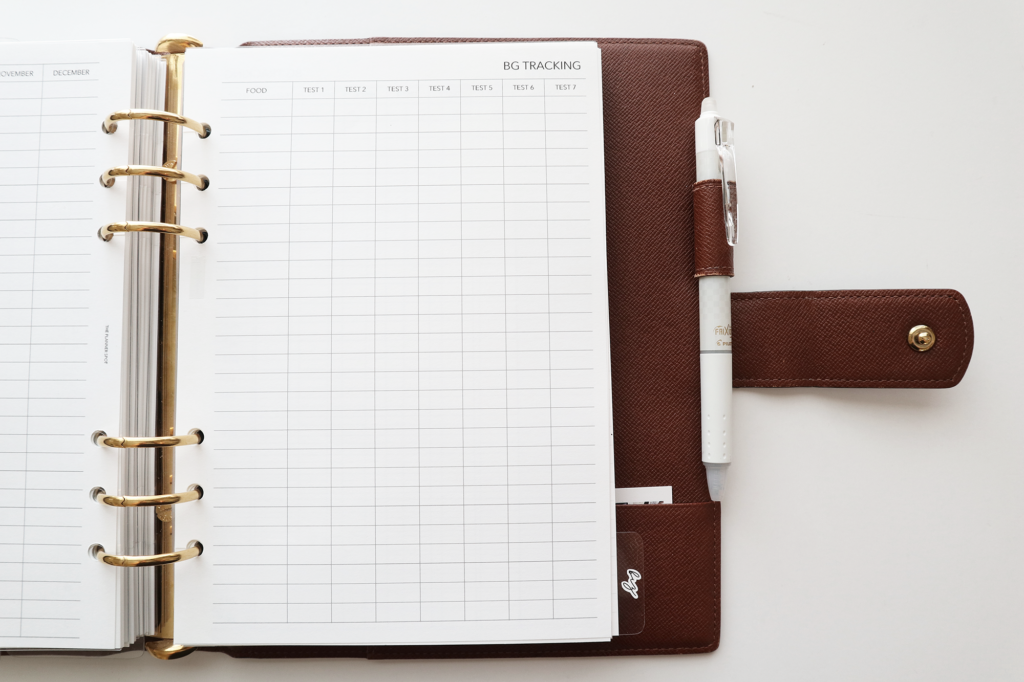

Tracking Inserts
My back two sections are for personal and business tracking.
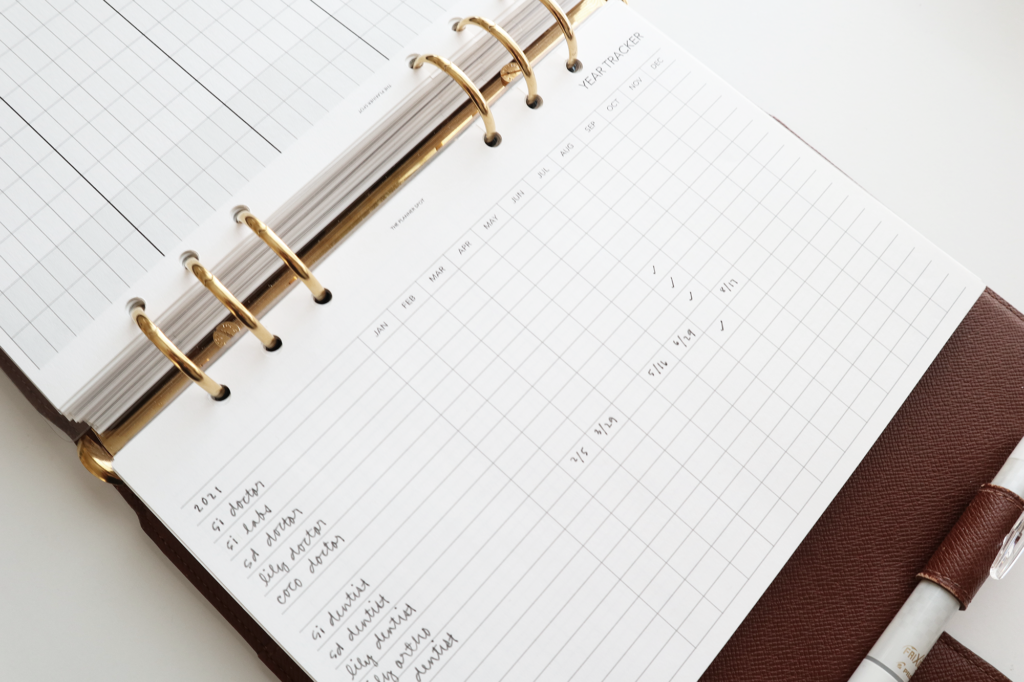
In the personal section, I have a perpetual calendar for tracking some health stats like weight, blood pressure, et cetera (this insert will be released in a couple of weeks). Then I made a couple inserts for my personal use: a blood glucose tracker and a spending tracker. Lastly, I have a yearly tracker for health appointments.
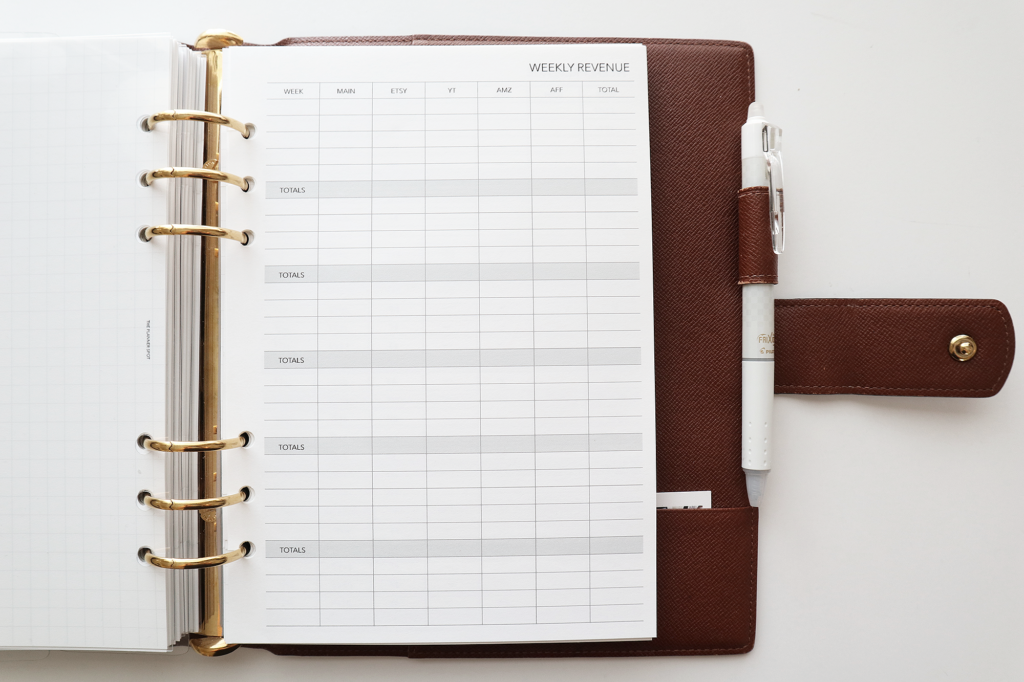
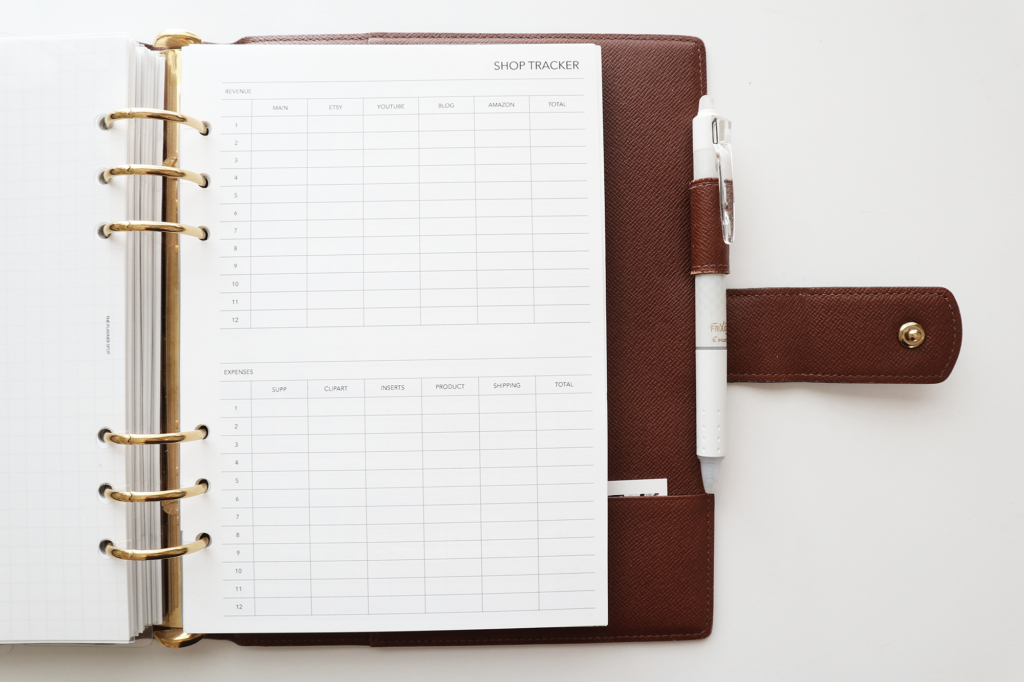
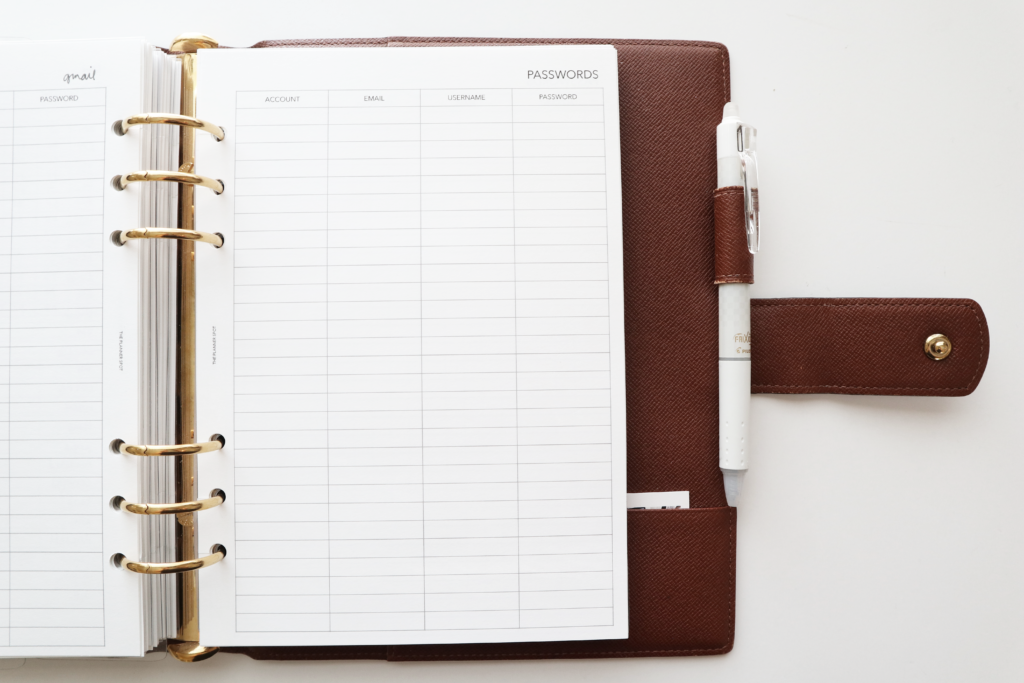
My last divider is my business section. This weekly revenue insert is available in the printable shop, but I added my own headers and shading to the ones I use in my planner. And then I have a shop tracker, which I use it for tracking different business stats (again, I added my own headers). Finally, I have an insert for my passwords.
Wallet
A5 size planners can get super heavy and I carry my planner with me every day, everywhere I go. So, as you can imagine, lugging my planner around gets really heavy in my bag.
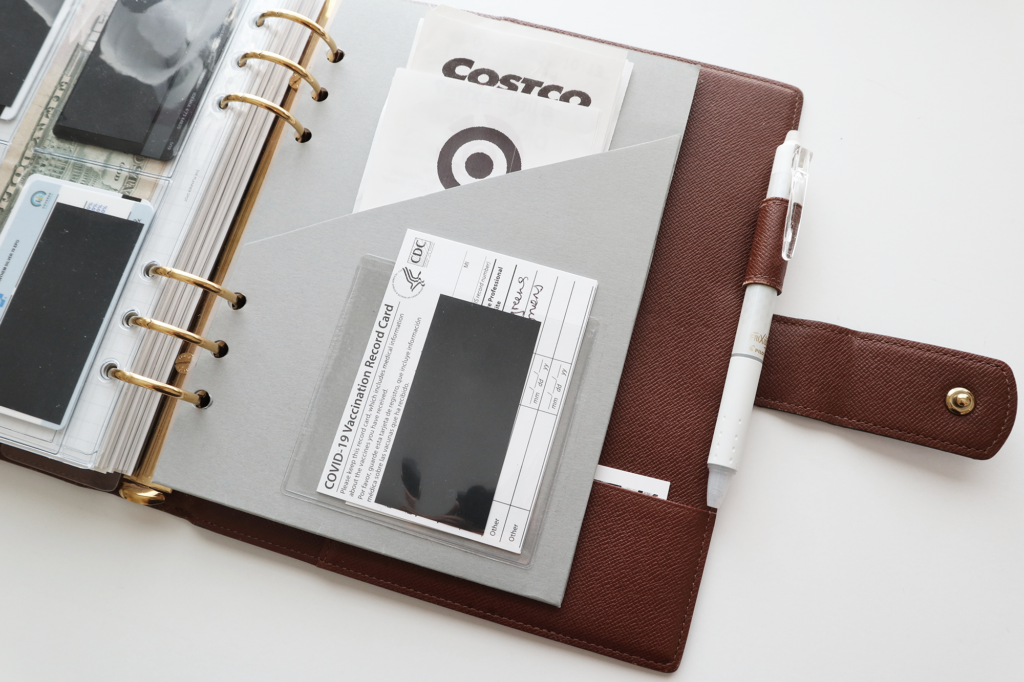
To lessen the load, I use the back of my planner as a wallet. I have a zip pocket to hold cash, and another pocket page from Catspresso for my debit cards and credit cards, as well as my license and my health insurance card.
I have a little adhesive pocket from Target that I put on a pocket page from Cloth and Paper to hold our COVID vaccination cards. In the pocket, I keep receipts that I need to log.
Back Pockets
In the little pocket in the back, I keep a couple of business cards. And in the back long pocket, I just keep miscellaneous pieces of paper that I need to tend to.
Lastly, I have my trusty Frixion pen.
Digital Planning
And that’s it, that’s my whole setup for my paper planner. Like I mentioned earlier, next week I’ll be back to share how I do digital planning. Both paper and digital planning play significant parts in my planning system and I can’t wait to show you more!
I hope you were able to pick up a few ideas for your own planner organization and setup. See you back here again next week!
* To my eagle eyed customers: all plans shown in photos are subject to change 😉
Leave a Reply